By the end of this guide you will have successfully deployed an environment to FlexStack.
Create an account
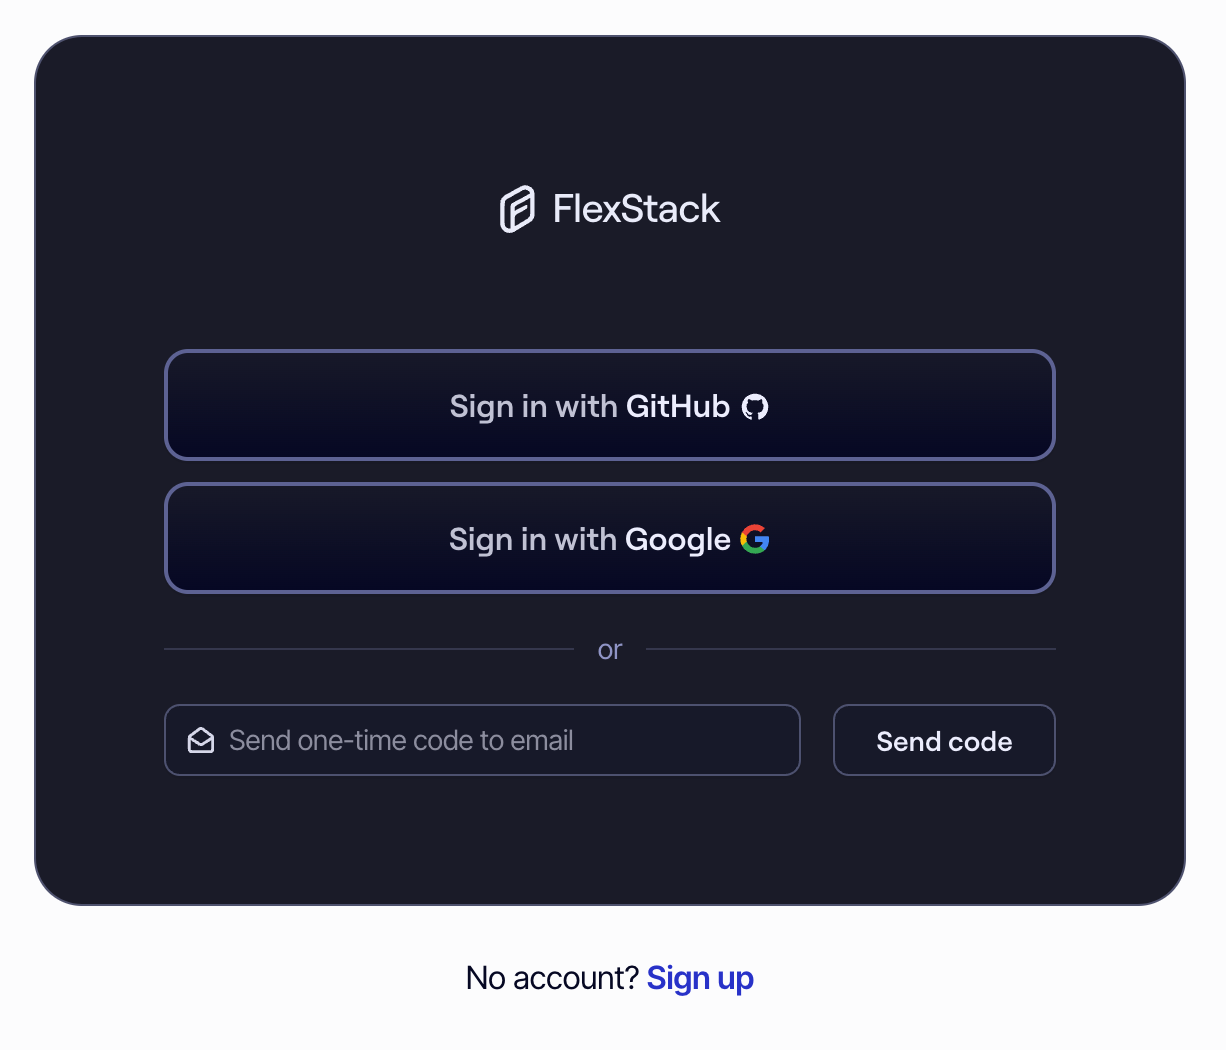
Before we get started, you'll need an account with us. To create an account, head over to our Sign Up page.
To get the most out of FlexStack, we recommend that you sign up using your GitHub account, but we will send a login code to your email instead if you wish.
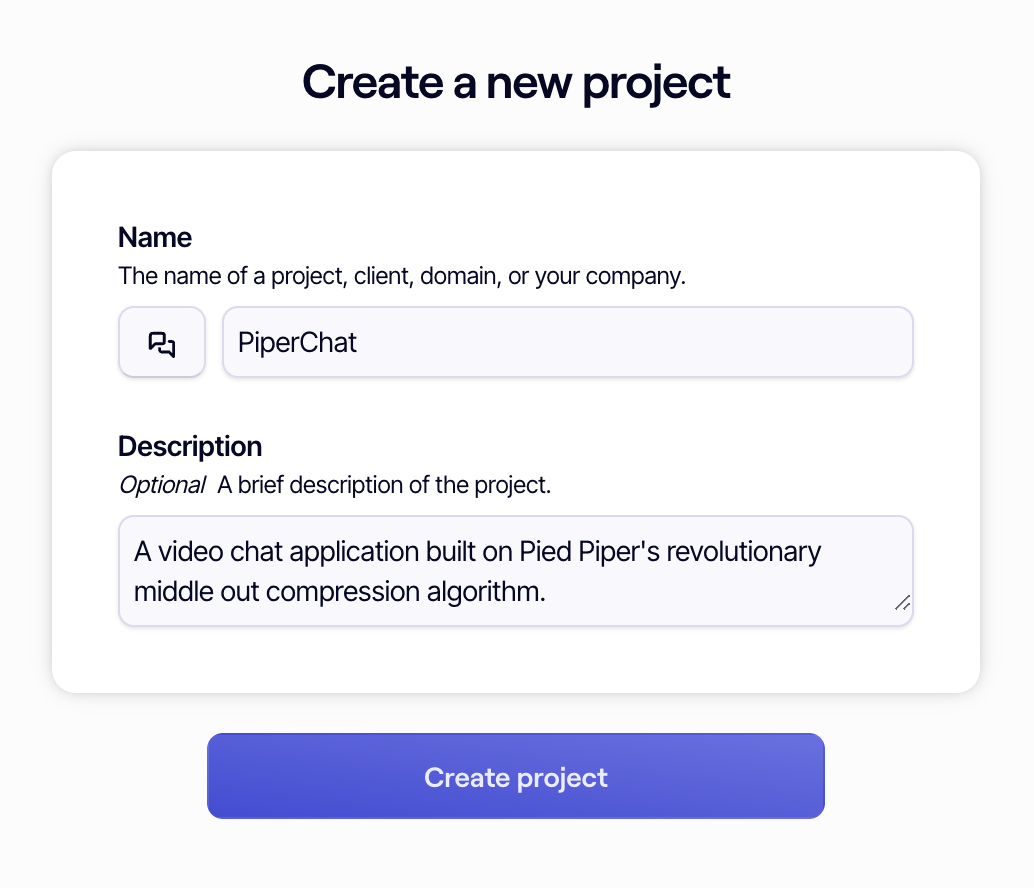
Create a project
A project is a group of related environments and services. For example, your core product or a group of side projects you're working on if you're comfortable with them sharing an environment.
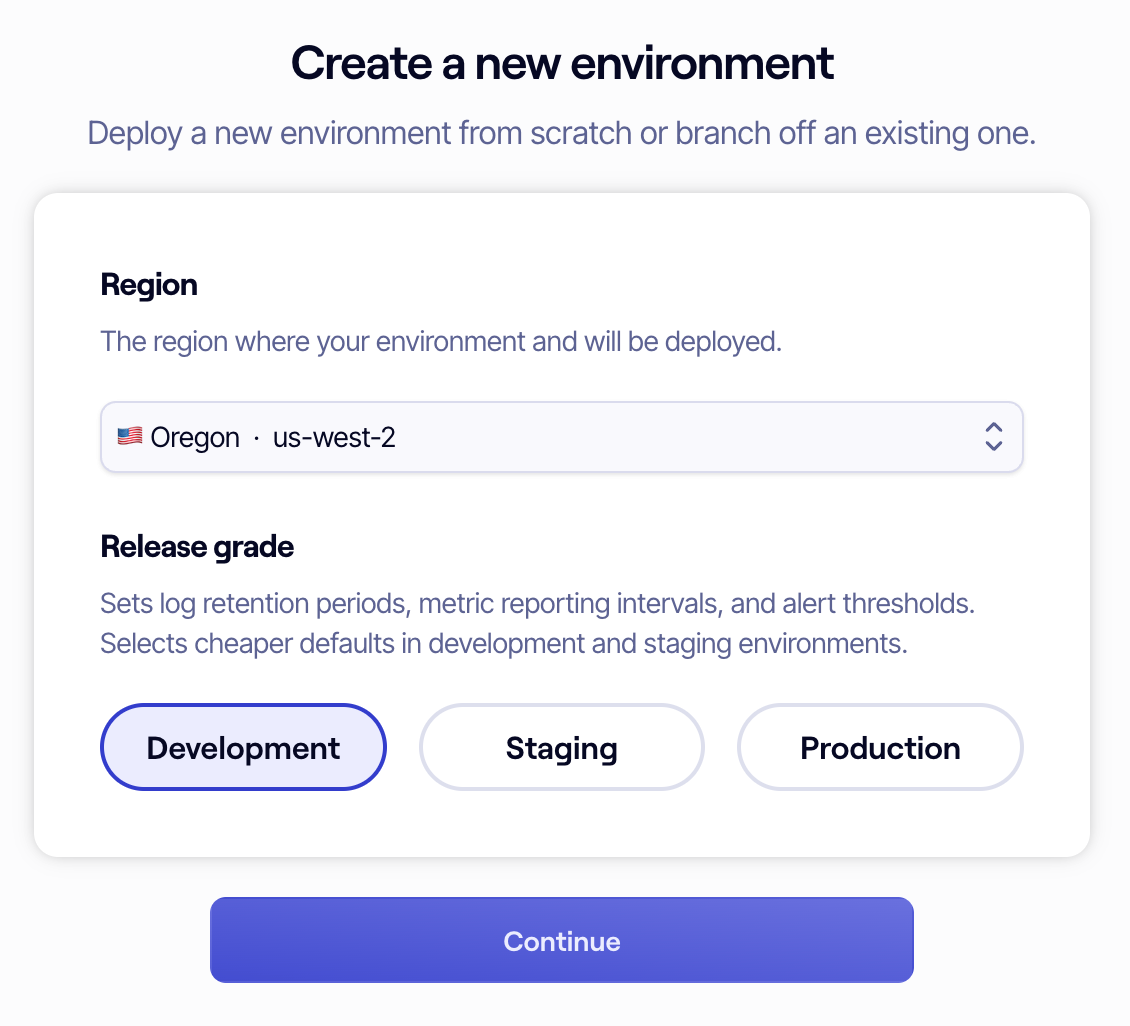
Configure your first environment
An environment sets up a secure private network, cluster, and other resources necessary for deploying services. Select a region that is close to you or your users and a release grade. We recommend starting with Development, as that will be cheapest. You can always change the release grade to Staging or Production later.
Connect your account to AWS
No AWS account? Start here.
If you don't have an AWS account or you want to start fresh, follow this useful AWS beginner guide to get an account set up.
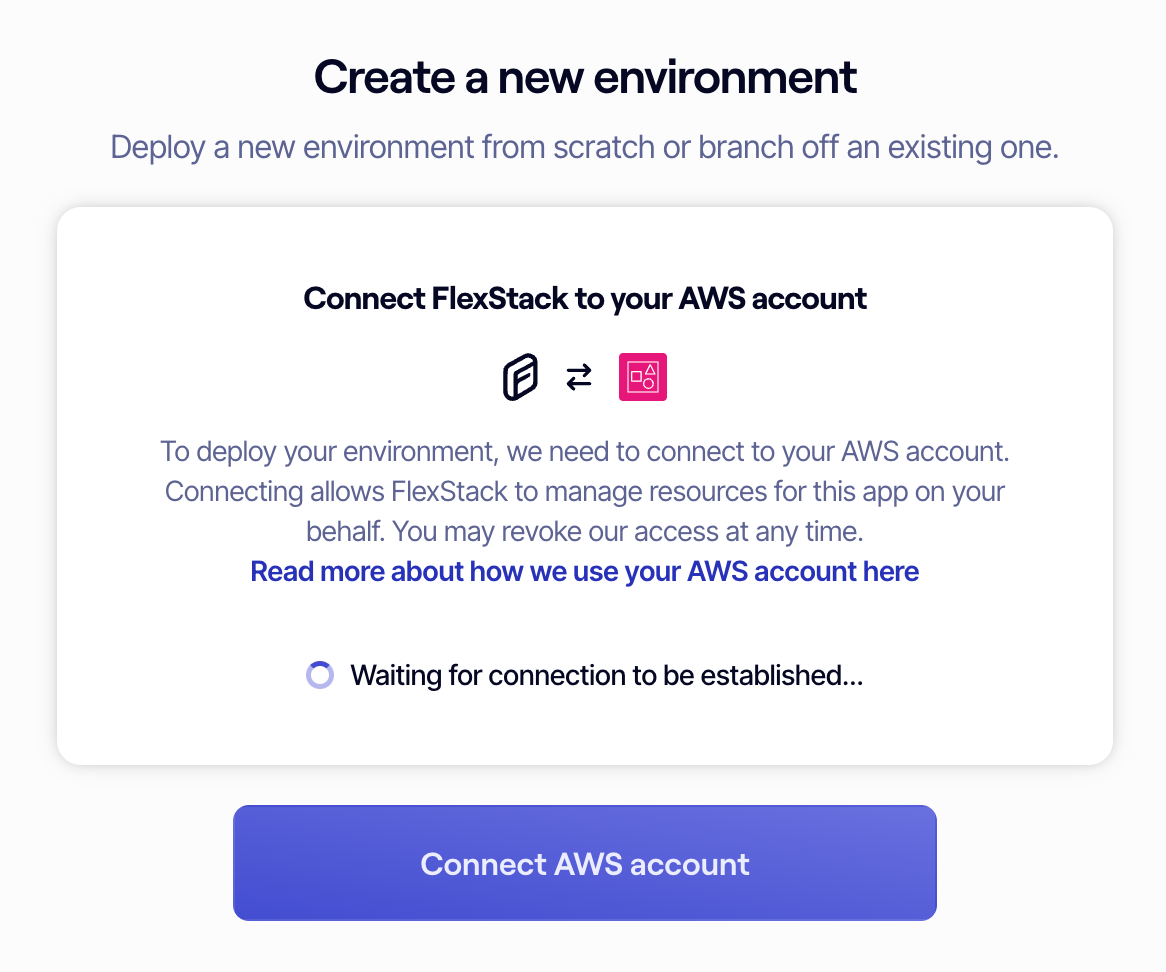
At this step you're ready to connect FlexStack to your AWS account. To get started, click the "Connect AWS account" button.
This opens a CloudFormation screen in a new window. At this step you will create a CloudFormation stack that allows FlexStack to provision resources on your behalf. This stack will always be created in us-west-2. This is the canonical way to allow third parties to manage your AWS account. You can learn more about how this process works and how FlexStack uses your AWS account here. You may disconnect your account from FlexStack at any time you choose.
Important note
Make sure to verify that the account opened in CloudFormation is the same account you want to install FlexStack to.
Do not change any of the values in the form. They are all necessary for the connection to be successful.
Next, scroll to the bottom of the page. Check the "I acknowledge that AWS CloudFormation might create IAM resources..." checkbox in the callout to acknowledge that the stack will create an IAM role on your behalf, then click "Create stack".
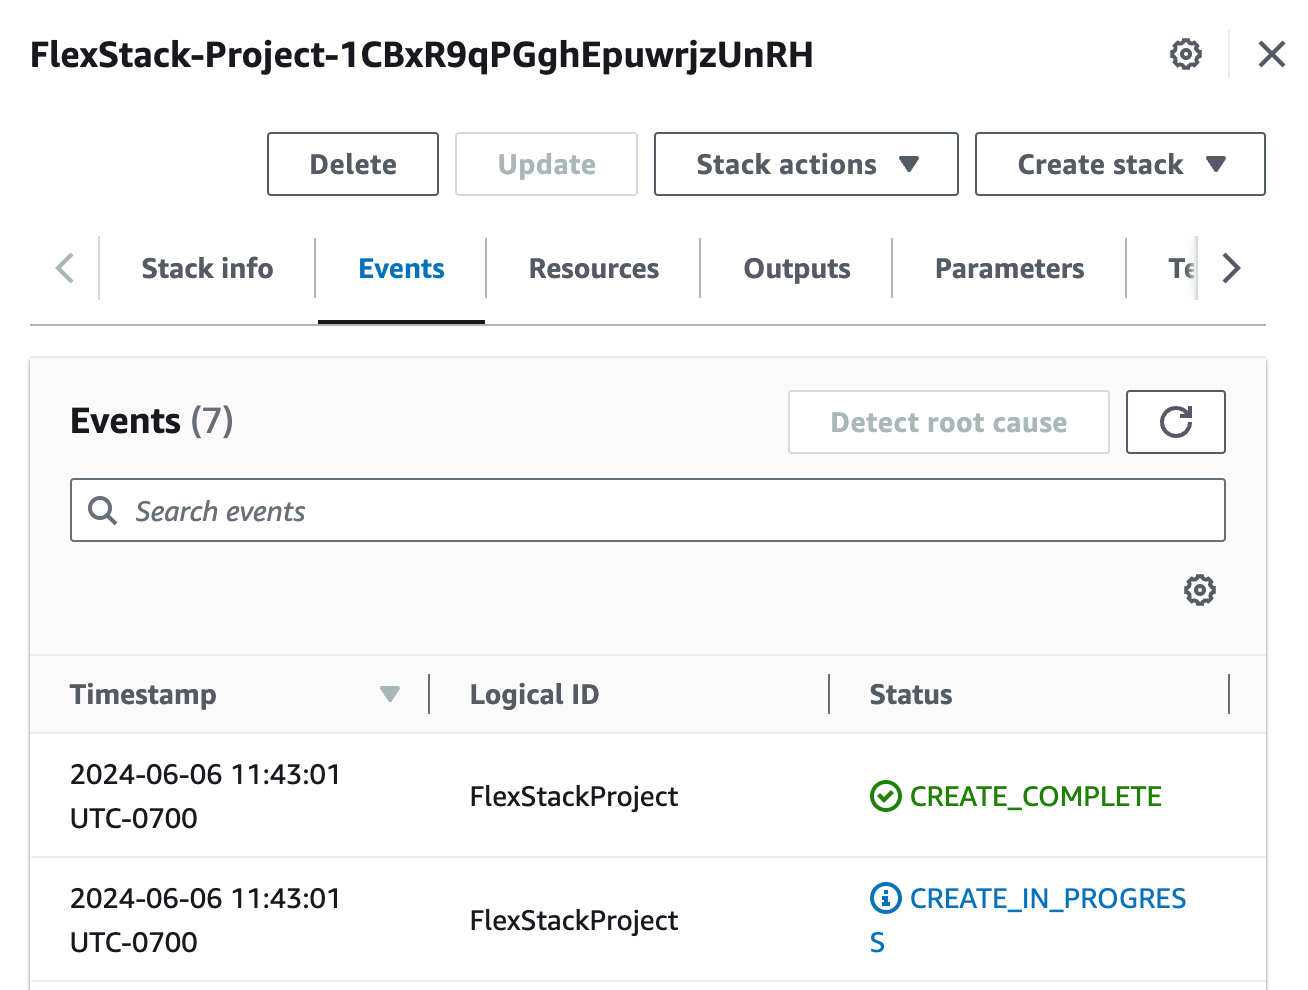
A CloudFormation will immediately start running once the "Create stack" button is clicked. You'll be redirected to the CloudFormation events screen for the new stack. Click the Refresh "⟳" button in the "Events" tab until you see FlexStack Project CREATE_COMPLETE. This should take a minute or two at most.
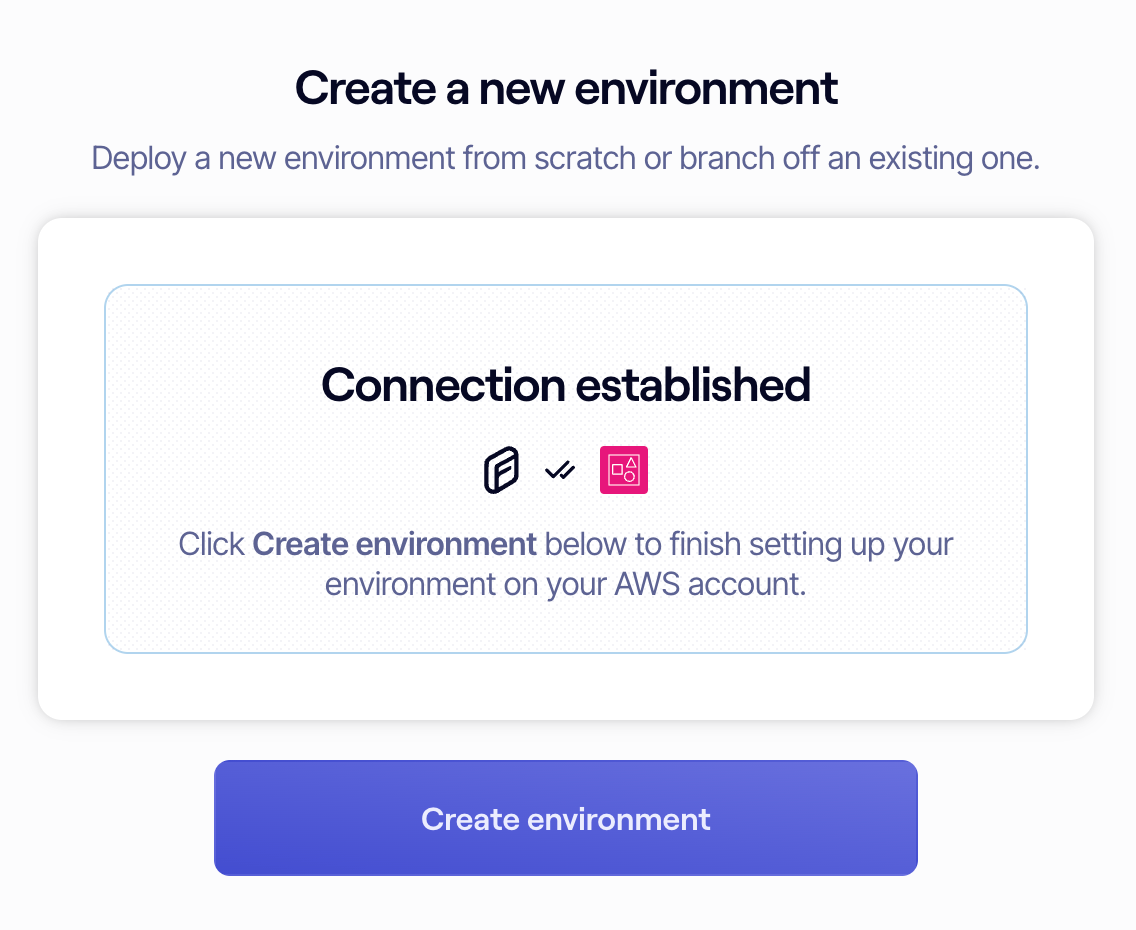
Now you can close the AWS window and navigate back to FlexStack. You'll see a callout that says "Connection established", at which point you can click "Create environment" to finish creating your environment.
Your new environment will immediately start provisioning to your AWS account. 🎉 Congratulations! We can start to provision your first service now.
Create your first service
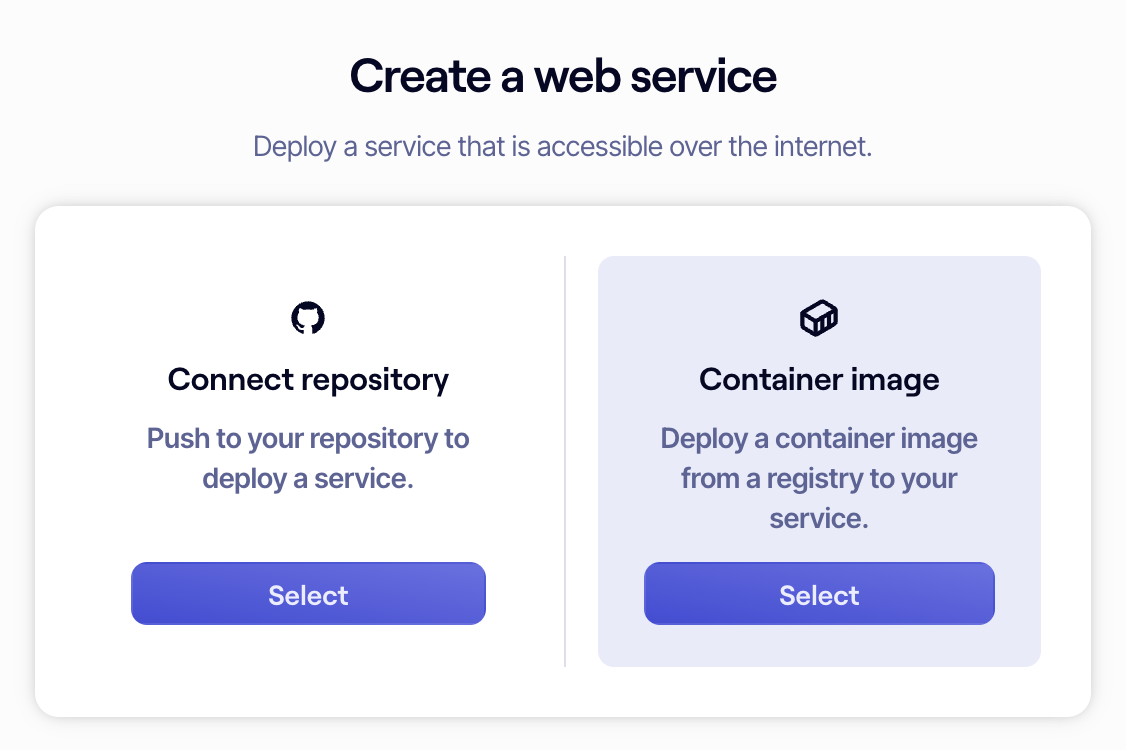
In the center of the dashboard you'll see an empty state asking to create your first component. For the purposes this guide, click the "Web Service" component. On the next screen, you'll see the option to "Connect repository" or "Container image". Select "Container image".
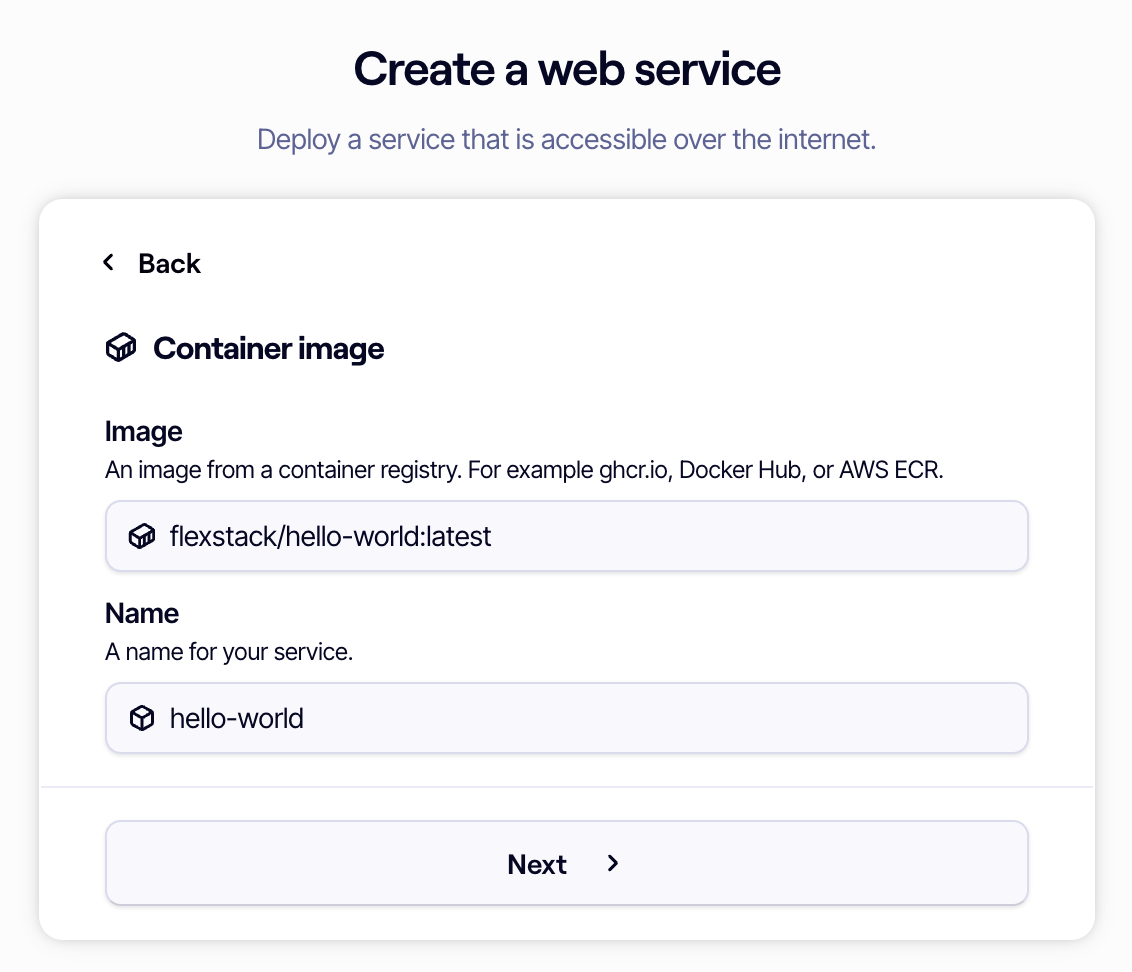
In the "Image" field, enter flexstack/hello-world:latest. This image runs a static web server that serves a welcome page.
Click "Next ›", then on the next screen leave both input fields blank and click "Deploy".
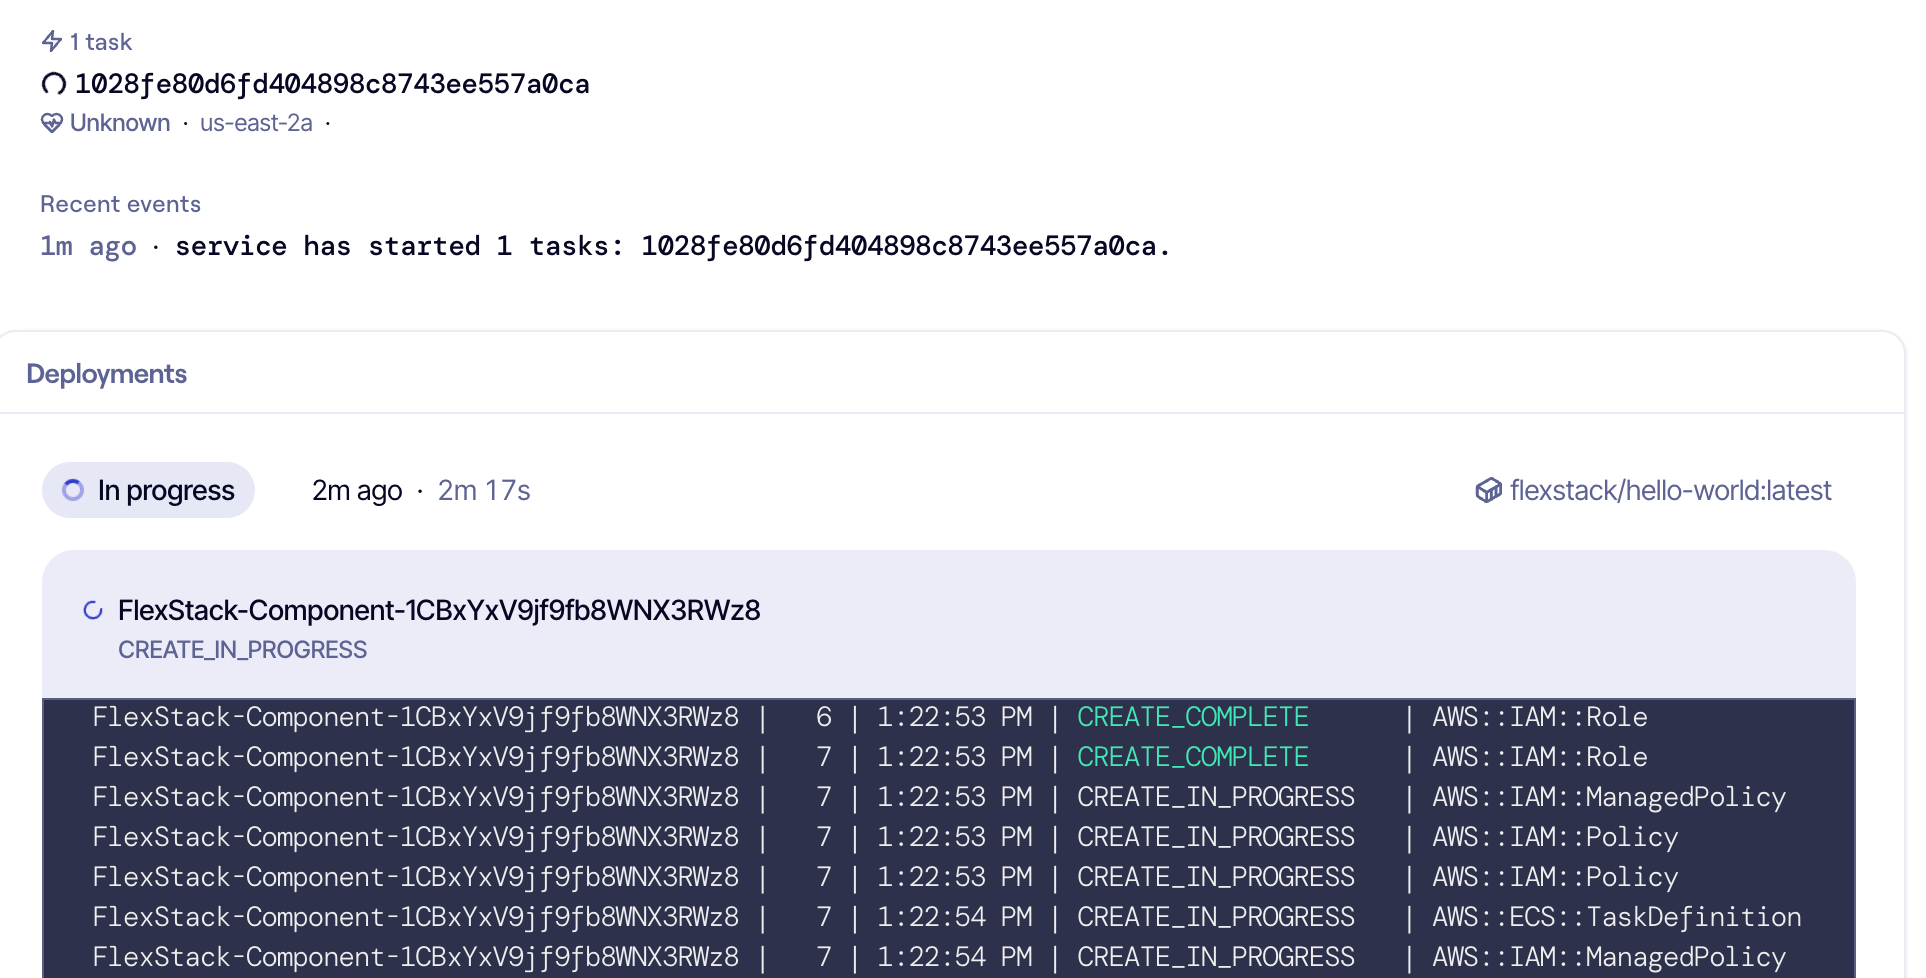
You'll then be redirected to the component overview where you'll be able to watch your deployment rollout and complete.
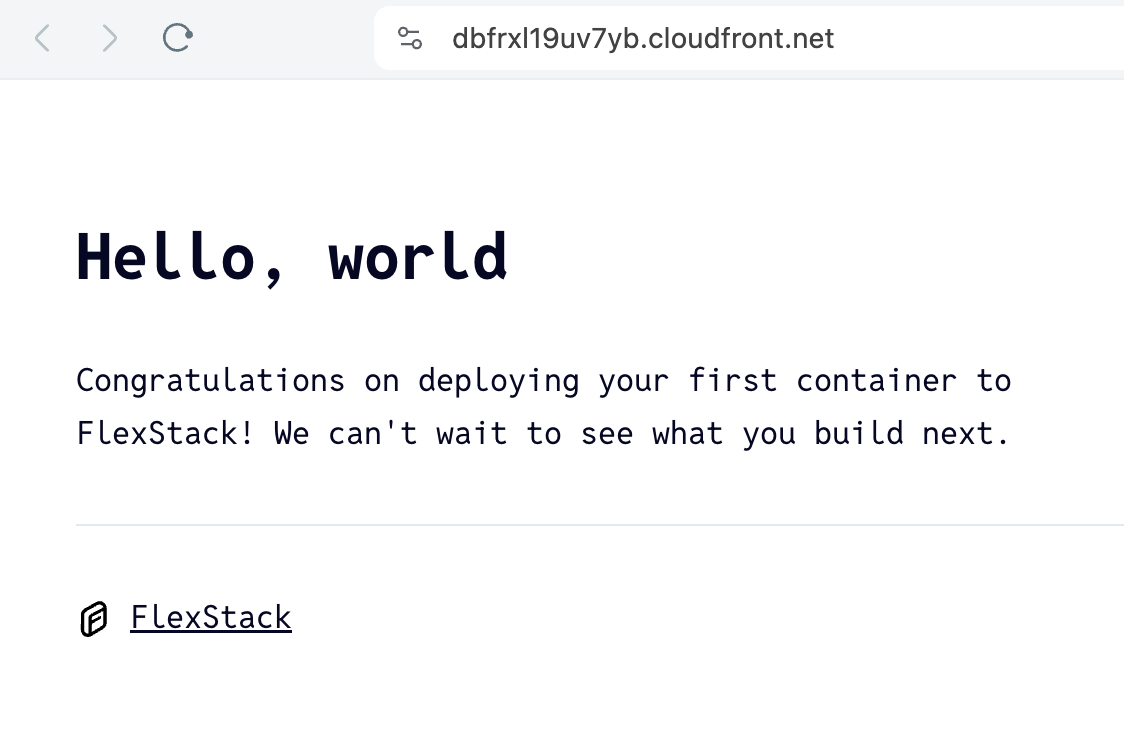
When it's complete, you'll see a link at the top of the overview for a [name].flexstack.app. Click the link to open your first FlexStack web service in the browser.
You did it! We hope this was a useful introduction to our platform and we cannot wait to see what you build with us.
Have questions?
We're here and happy to help! Join our support channel on Discord.
